
Painting motorcycle plastics made easy: Follow 7 simple steps for a durable, professional, and long-lasting finish every time.
Introduction
Painting motorcycle plastics is an easy and cost-effective way to refresh your bike’s look. Fairings, side panels, and fenders face constant sun, heat, fuel spills, and road debris, which causes fading and scratches over time.
Unlike metal, plastic panels need a specific painting process. Paint does not naturally bond to plastic, so poor preparation or wrong products often lead to peeling, cracking, or uneven finishes.
Proper preparation, the right materials, and patience are essential.
This guide shows how to paint motorcycle plastics correctly with simple steps for strong adhesion, a smooth finish, and long-lasting results.
Step-by-Step Guide to Painting Motorcycle Plastics
| Step | Action | Tips / Notes |
|---|---|---|
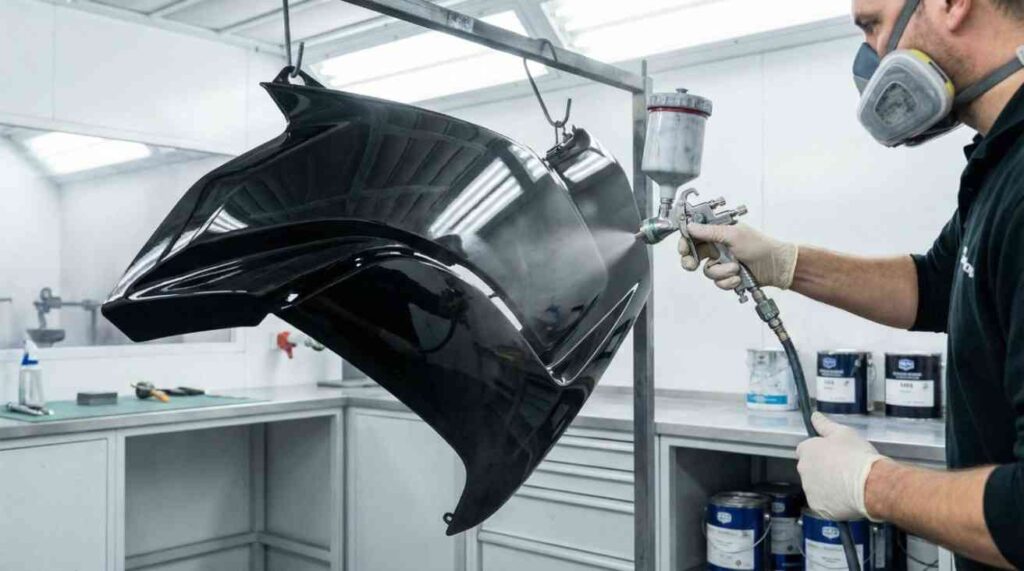
| 1 | Select the Right Paint | Use plastic-compatible paint designed to flex with panels. This is essential for painting motorcycle plastics successfully. |
| 2 | Apply Tack Coat | Start with a light tack coat, then apply several thin coats. Allow proper flash time between coats. |
| 3 | Spray Technique | Keep consistent distance and use smooth, even movements. • Too close → runs • Too far → rough texture |
| 4 | Multiple Light Coats | Never cover in one coat; patience ensures a smooth, professional finish. |
Tools and Materials Needed for Painting Motorcycle Plastics
Using the right tools and materials is essential for a durable paint job on motorcycle plastics. The wrong products often cause peeling, cracking, or poor adhesion.
Safety Gear: Respirator mask, gloves, and eye protection to prevent exposure to harmful fumes.
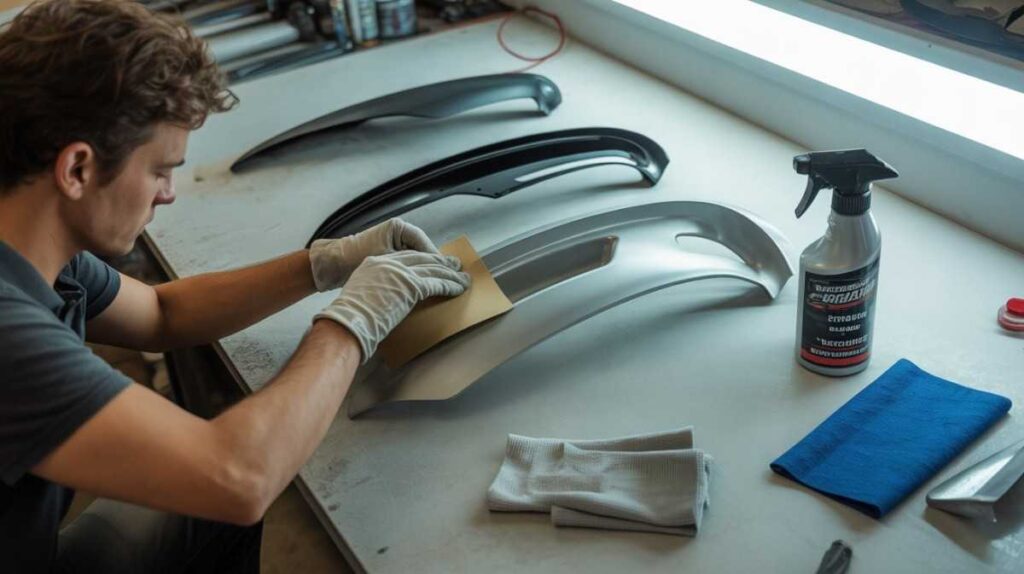
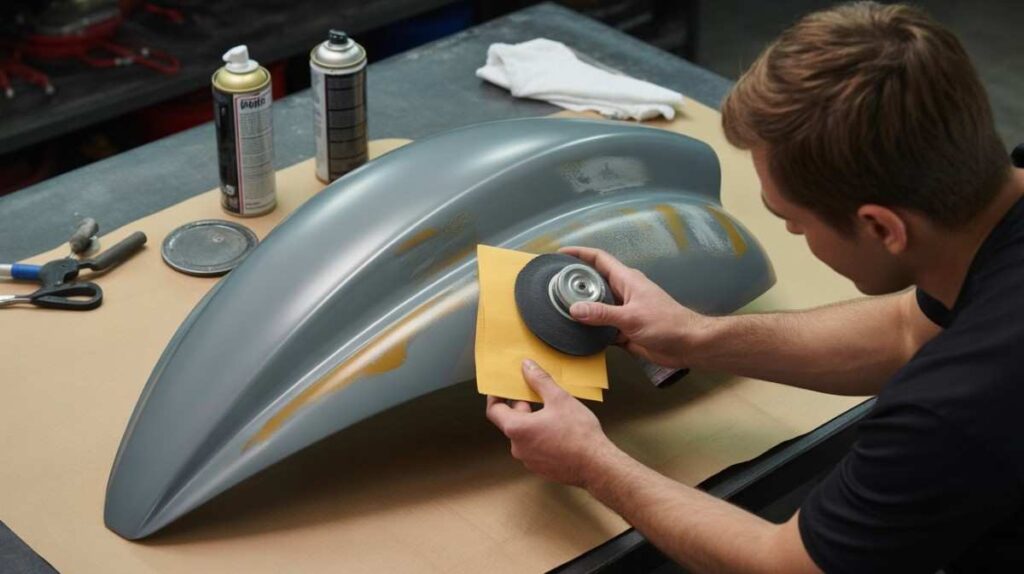
Surface Preparation: Sandpaper in multiple grits—400–600 grit to scuff plastics, 800–1200 grit to smooth primer and paint layers.
Cleaning: Use a plastic-safe cleaner or degreaser to remove oil, grease, and residues that block paint adhesion.
Painting Essentials:
- Adhesion Promoter: Ensures paint bonds to ABS or other plastics.
- Plastic-Compatible Primer: Prepares the surface for paint.
- High-Quality Paint: Designed for motorcycle plastics for durability and finish.
- Clear Coat: Protects against UV rays, scratches, and wear.

How to Prepare Motorcycle Plastics for Painting
Surface preparation is crucial—paint cannot fix poorly prepped plastics.
- Remove Panels: Detach fairings and plastics to ensure even paint coverage.
- Clean Thoroughly: Wash with soap and water, then wipe with a plastic-safe degreaser or isopropyl alcohol to remove oils and residue.
- Sand the Surface: Use 400–600 grit sandpaper to dull the plastic. Pay special attention to edges and curves, common spots for peeling.
- Final Cleaning: Remove all dust before priming.
Proper cleaning and sanding guarantees strong adhesion and a long-lasting, smooth finish.
Why Adhesion Promoter Is Essential When Painting Motorcycle Plastics
- Prevents Paint Failure: Plastic naturally resists paint, even after sanding.
- Creates a Strong Bond: Forms a chemical link between plastic and primer, reducing peeling, cracking, and lifting.
- Common Mistake: Skipping adhesion promoter is a leading cause of failed paint jobs.
- Application Tips:
- Spray light, even coats.
- Wait until the surface is slightly tacky before priming.
- Benefits: Ensures durable, long-lasting adhesion and a smooth finish on motorcycle plastics.
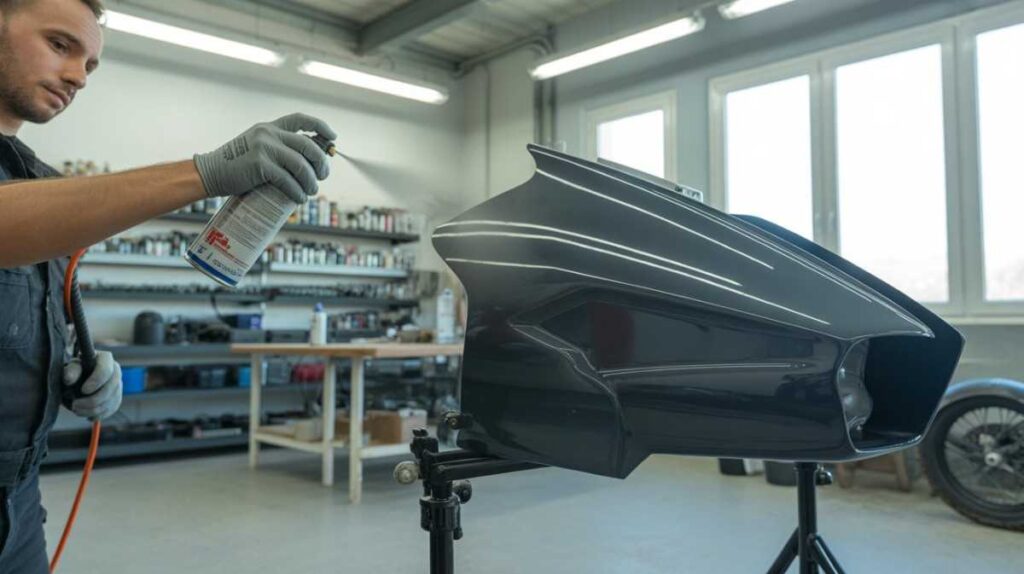
Clear Coat Protection for Painted Motorcycle Plastics
| Step | Action | Tips / Notes |
|---|---|---|
| 1 | Purpose | Shields painted plastics from UV rays, fuel spills, and scratches, preventing fading. |
| 2 | Application | Apply 2–3 thin coats with proper flash time between layers. |
| 3 | Spray Technique | Avoid heavy spraying to prevent orange peel texture. |
| 4 | Curing | Allow clear coat to fully cure before reinstalling panels for long-lasting protection. |
Applying Primer When Painting Motorcycle Plastics
- Purpose: Provides a smooth, stable base and enhances paint adhesion and durability. Use plastic-specific primer.
- Application: Spray thin, even coats; avoid heavy layers to prevent runs and uneven texture.
- Drying: Let each coat fully dry before sanding or painting.
- Sanding: Lightly sand dried primer with 800–1000 grit to smooth imperfections.
- Cleaning: Remove all dust before painting.
- Benefits: Ensures even color, strong adhesion, and a professional finish on motorcycle plastics.

Common Problems When Painting Motorcycle Plastics (And Fixes)
| Problem | Cause | Fix / Prevention |
|---|---|---|
| Paint Peeling | Poor prep or skipping adhesion promoter | Ensure proper cleaning, sanding, and use adhesion promoter |
| Uneven Texture | Spraying too close or applying heavy coats | Maintain consistent distance and use thin, even coats |
| Fisheyes / Bubbles | Surface contamination (oil, grease, dust) | Clean and degrease surface thoroughly before painting |
| General Prevention | – | Follow proper prep, sanding, and patience for long-lasting results |
Maintenance Tips After Painting Motorcycle Plastics
- Wash Properly: Use mild soap and water; avoid harsh chemicals.
- Wax Regularly: Adds UV protection and preserves shine.
- Inspect Often: Check panels for damage and repair chips early to maintain finish.
FAQs About Painting Motorcycle Plastics
- Q: Can you paint plastics without adhesion promoter?
A: No. Paint will likely peel or crack. - Q: Which paint sticks best to motorcycle plastics?
A: Plastic-compatible automotive paint for ABS fairings. - Q: Is primer necessary when painting plastics?
A: Yes. Primer improves adhesion and finish quality. - Q: How long does paint last on motorcycle plastics?
A: Several years with proper preparation and care. - Q: Can I spray paint motorcycle fairings at home?
A: Yes, if all steps and drying times are followed correctly.
Conclusion
Painting motorcycle plastics is simple but requires correct steps.
- Key Steps: Cleaning, sanding, adhesion promoter, primer, and clear coat ensure a durable finish.
- Outcome: Professional results at a fraction of the cost.
- Tip: Follow each step carefully; the finish will last for years.


